Image retargeting
Note: See below for the updated version.
I saw this video of a SIGGRAPH paper about image retargeting (high res version here, read the paper here), that is rescaling an image so that the algorithm keeps the interesting areas intact and doesn’t squash everything. It’s called seam carving in the paper.
The video made it look amazingly simple (and actually explained the whole idea much better than most papers manage to do), so obviously I had to try my hands at it. After about three hours worth of coding I came up with my version (you can find the source code below!).
 |
 |
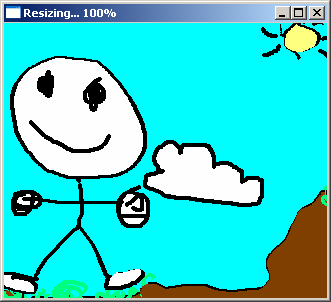 |
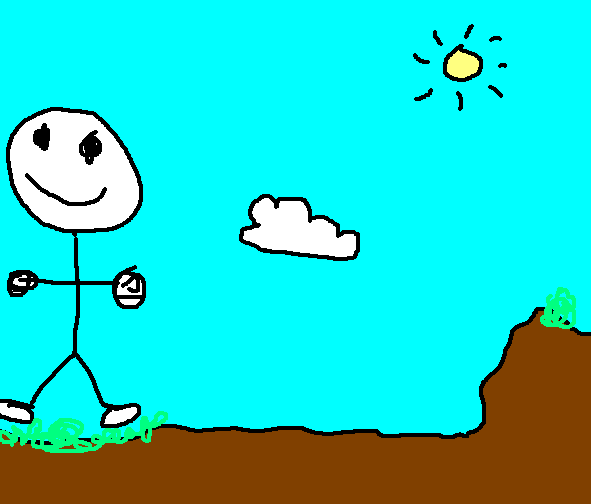
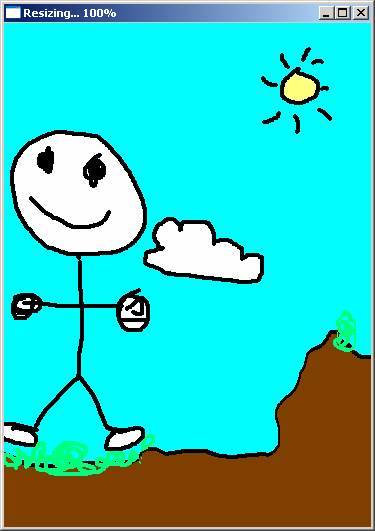
| Original image | Retargeted image | Retargeted image |
Notice how the guy’s face and the cloud stay the same even if everything else is stuffed in the smaller image area.
 |
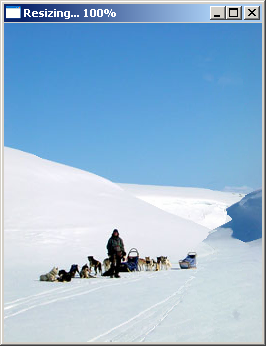 |
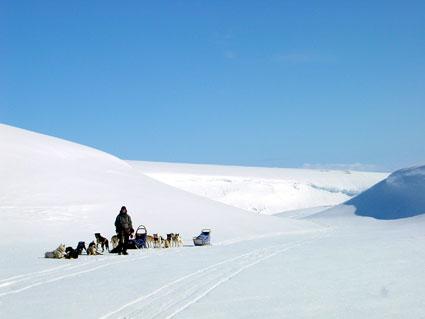
| Original image | Retargeted image |
Again, the higher contrast areas (i.e. the man and the dogs, black on white) are kept the same while the snowy area is made narrower.
 |
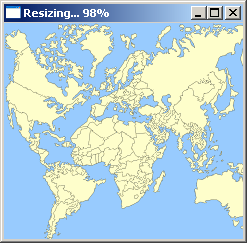 |
| It’s a small world… ;) | |
I didn’t read the SIGGRAPH paper, so I don’t know what makes their algorithm work that well (or maybe they just chose the right images for the video). My program works as follows (when shrinking the image horizontally):
-
For each column, traverse from top to bottom picking any of the three (or more) neighboring pixels below the current pixel
-
Calculate the “penalty” or error, i.e. try to pick the neighboring pixel that is colored as similarly as possible compared to the one next to it (in the direction we want to shrink the image)
-
From these paths, pick the path that has the lowest penalty and crop the pixels along the path, while moving the rows to the left, as you would delete characters in a text
-
Repeat until the image width is what was requested
In all, this is very slow but it could be made faster (as in the video that shows realtime scaling) if the penalty or error values were precalculated for each pixel. The algorithm should also try to pick paths that are further apart, so it would remove pixels more evenly and it should backtrack when trying to find the optimal path. Now it just goes along a “wall”, i.e. a high-contrast area when it finds one – it should backtrack and try to find a path further away. Finally, there should be a feature that allowed the user to mark faces and other areas that should never be scaled.
To use the program, you need to run it from command line or drag a 24-bit BMP image on the icon. Resize the window to scale images. If you want to save the image, simply answer “yes” when exiting the program.
New version
retarget image.bmp 800 600
This will try to resize the image to 800×600 resolution. The new version is able to load JPEG, PNG, BMP and probably some other formats too (thanks to the SDL_image library). Note that it still will save as BMP, even if the extension is JPG or so.
Use the left mouse button to mark areas such as faces, eyes and so on, and the right mouse button to mark areas that you want to remove. Middle mouse button erases the marks. To tweak the blur amount (less is better for cartoon style images and maps, the opposite for photos), run it like this:
retarget image.bmp 800 600 4
Now there will be twice as much blur as usually (default is 2).
retarget3.zip – the program with the source code (you need SDL and SDL_image)
Here’s the original version, it is still useful:
retarget2.zip – the program with the source code (you need SDL)