How does Pico Racer work?
After I released Pico Racer, lots of people have thought it looks nice and is an achievement. I don’t think it does anything special or pushes the limits of the Pico-8. Here I try to explain the small tricks I used in the game. If you want a general tutorial about pseudo 3D racers in general then please check out Louis Gorenfeld’s excellent page about the subject, I try to focus on Pico-8 specific stuff.
- Road rendering
- Sprite rendering
- Car rendering and sprite perspective
- Night levels and color fades
- Pico-8 performance
Road rendering
Usually, with pseudo 3D racers, the road is drawn using a simple trick: there is a full screen graphic of a straight road with perspective and every horizontal line gets shifted left or right, more the further down the road the current horizontal line is. This makes the road look like it’s curving. Palette tricks are used to create the familiar stripes that give an illusion of motion.
With Pico-8, there is no space for a precalculated road asset but we can draw scaled sprites instead. The road in Pico Racer is simply a series of one pixel high sprites scaled by distance, one for both track edges and two used to draw the road surface. The road is a true textured plane instead of a distorted image. Curves works similarly to the above classic method.
Additionally, when rendering the road (from bottom of the screen to the middle of the screen) we iterate along the track data. This is very approximate because we just take the screen Y, calculate the Z and figure out which part of the track the horizontal line belongs to. A more accurate way would be to iterate Z instead of the screen space Y and when Z projected to the screen gives a different screen Y coordinate, we would draw the horizontal line. But going along Y gives a good enough effect, the player will get a good enough hint what is coming towards him.
The road X position on screen is stored for each Y coordinate which we will use later to render the sprites correctly along the road. Note: this gives a slightly crude motion to sprites when they are far away because the X offset are stored per each screen Y coordinate instead of Z. As long as the action is fast, the player will not notice anything.
The road texture graphic used per line is selected so that the further away the line is, the lighter the colors in the texture. Dithering is used to mask the exact position where the texture changes.
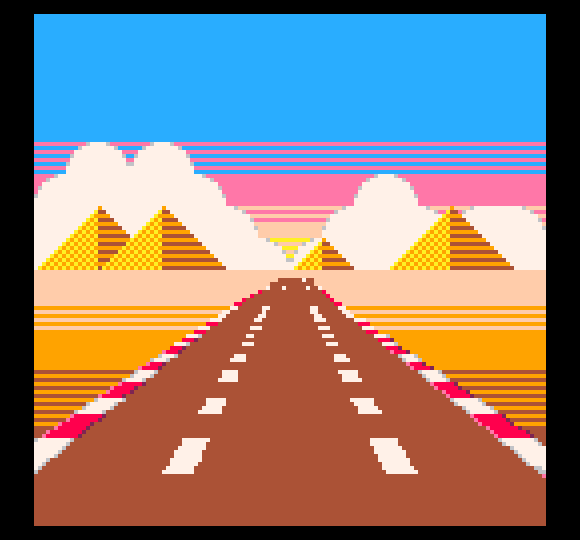
One texture
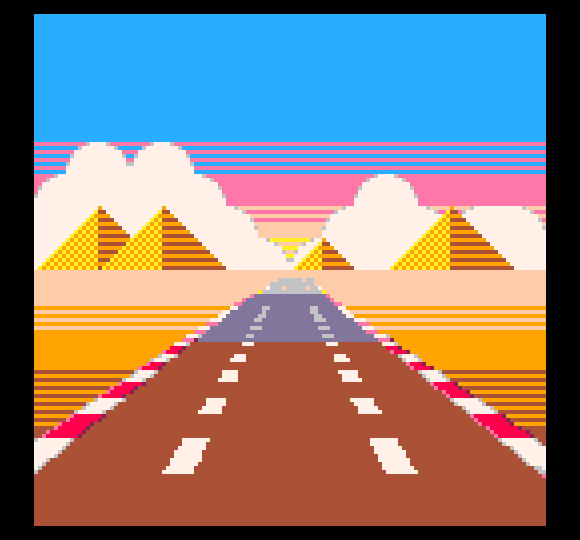
Multiple textures
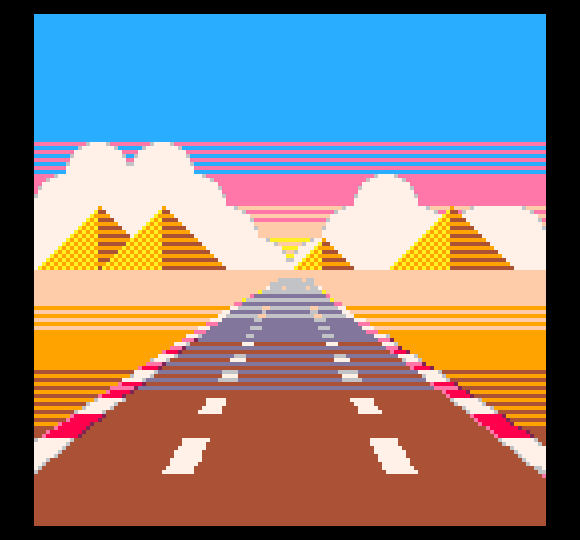
Dithered textures
This is done because of two reasons: in nature, colors get lighter the further away something is (actually, tint to sky blue beacuse there is air between you and the faraway object) and also so that the road sides and lane markings won’t strobe as much.
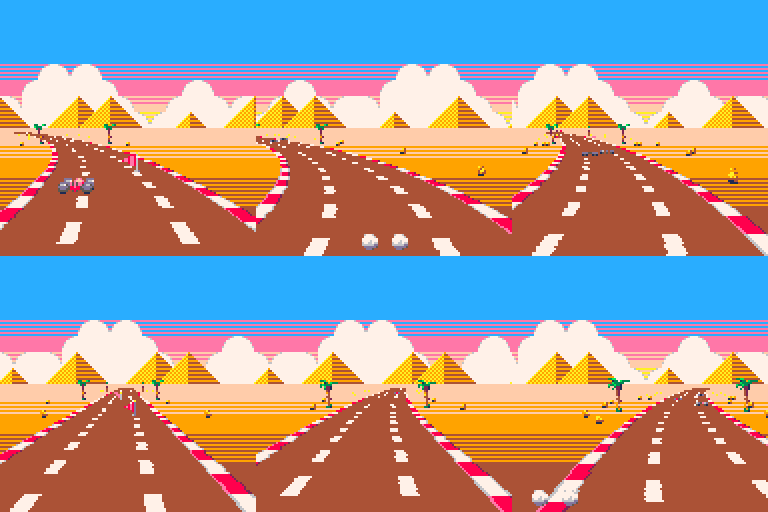
Lots of flicker
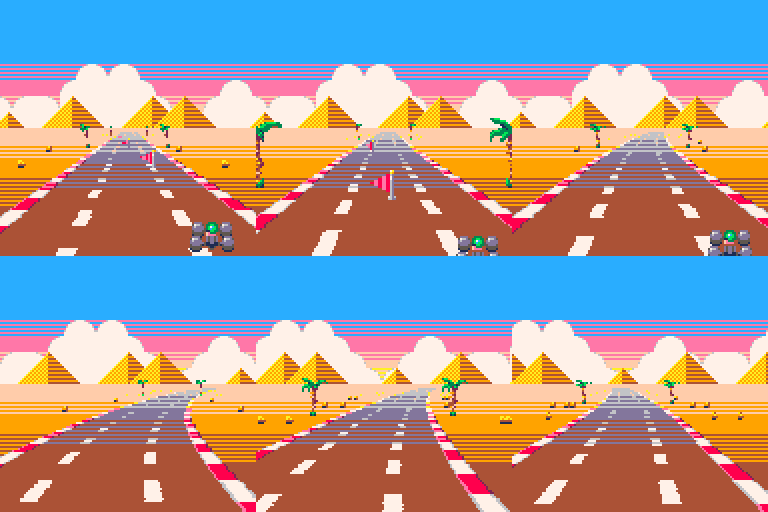
Less flicker
Sprite rendering
Sprites are rendered basically using the same idea as for the horizontal road lines. First, Z is used to determine the zoom factor. Secondly, sprite X position (on screen) is divided by Z and the road offset for the sprite screen Y coordinate is used to offset the sprites so that they are arranged along the road.
Car rendering and sprite perspective
There is one very important and unavoidable problem with sprites and 3D: the sprites always face the camera. This is not a problem with orthogonal 2D projection, since there is only one way the camera looks at. Everything is on one flat plane. But with a perspective projection the sprites start to look like they are always rotated to face the camera unless you take the time and draw multiple versions of the sprite from different angles. This is how Origin’s Wing Commander and Lucasarts’ Their Finest Hour work. But this takes a lot of effort and more importantly: it needs a lot of space for the sprites.
In Pico Racer, sprite perspective is handled so that most sprites (trees, warning signs) have no perspective. This works reasonably well due to two facts: the objects are two-dimensional (warning signs) AND they are always located to the sides so that the angle to them would be pretty much the same at all times. Only the player car and the opponent cars have visible perspective, since that’s what you look at the most. Also, the cars (especially the player car) have a lot of sideways motion which would immediately make the cars’ perspective look odd.
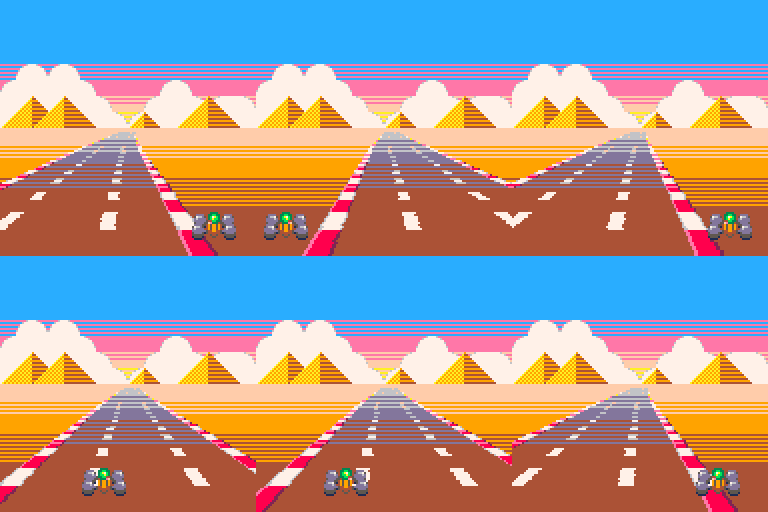
No perspective
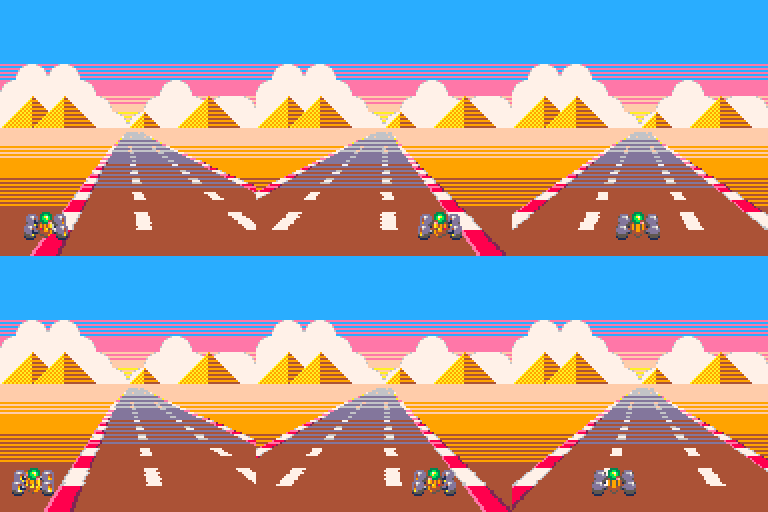
Sprite perspective
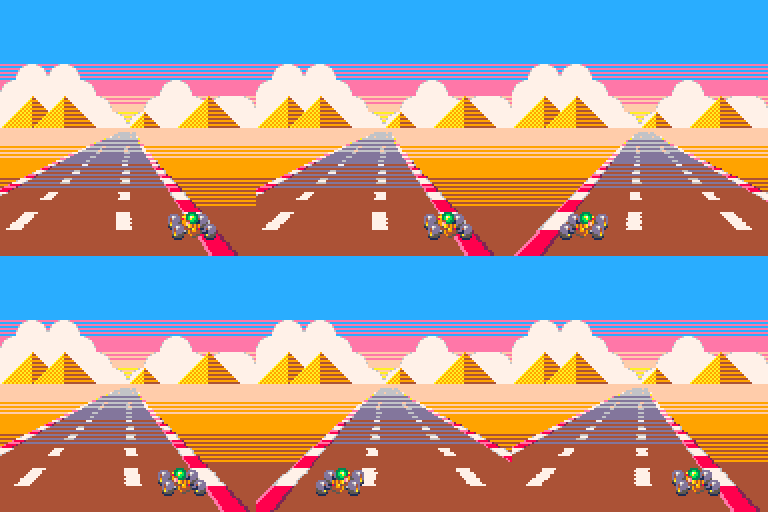
Full perspective
The cars use two tricks to fake a convincing perspective: firstly, they have multiple versions of the sprites. Secondly, the cars are built of a number of separate sprites located at slightly different distances. I borrowed this idea from Lankhor’s Vroom and it works well with cars that have no flat sides and instead have clear “sections” – just like F1 cars have. The cars have the rear sprite, the front sprite and a middle section. When the car moves sideways, in addition to showing the sprite from an angle, the rear wheels have some sideways motion against with respect to the front wheels. And, while not a perspective thing, the front section is moved sideways when the player turns left or right, when the road has a curve or when the car bounces giving the illusion the car is yawing and pitching.
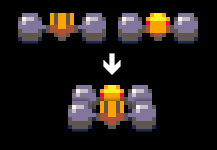
Parts of the car
Night levels and color fades
The color fades in Pico Racer are done using the palette mapping feature in Pico-8 and a few lookup tables. Basically, the tables tell which color to use for each of the 16 colors at a set brightness. Hand picking the colors gives the possibility (actually, with the fixed palette the fade will be tinted) to tint the fades so that they mimic sunset and so on. The road, sky and the sprites use a different lookup table each so that e.g. the road has markings visible even at pitch black and the sky and the horizon have a slightly different fade curve (because nature works like that).
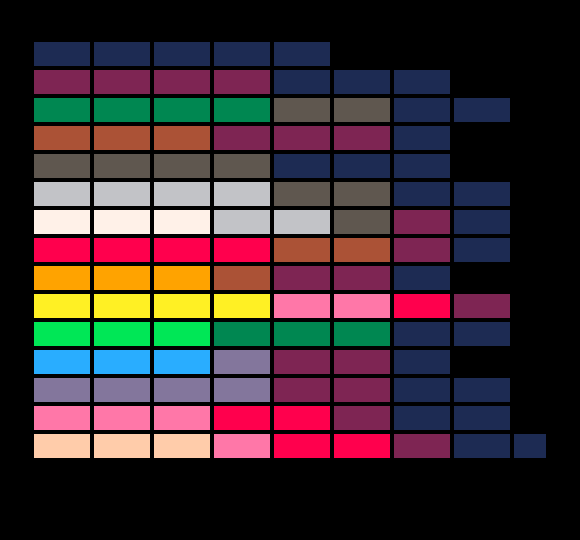
Palette lookup table
It all works something like this:
PALETTE={
 {1,1,1,1,2,2,2,0},
 ...
}

FUNCTION SETFADE(LEVEL)
 FOR C=1,15 DO
  -- ALL COLORS WITH VALUE C ARE NOW DRAWN
  -- WITH THE FADED COLOR
  PAL(C, PALETTE[C][LEVEL])
 END
END
On night levels, the cars are have rear lights drawn after it is dark enough. They are simply two extra sprites drawn without using the fade lookup palette.
Pico-8 performance
The Pico-8 is more than enough to do all the math and rendering in one frame (30 FPS). In fact, only the sprites rendering seems to be a bottleneck. Mainly, when sprites are zoomed, their area grows exponentially and the area is used to calculate how long Pico-8 takes to draw the sprite. Sometimes even large but fully clipped (i.e. outside the screen or the clip rectangle) sprites slow everything down. I found the combined area of the sprites is more important than the number of sprites.
In Pico Racer, I capped sprites so that they never zoom larger than 100 %. This has minimal effect on visuals, although you will easily notice it if you know it’s happening. Since e.g. the cars suddenly stop growing as they get closer to the camera, your brain thinks the cars in fact start shrinking. Likewise, since there is a short range where all the cars are drawn equally large, a car a bit further away looks larger than a car closer to the camera, everything because your brain expects things further down the road to be a bit smaller.
As for performance, limiting sprite size gives a big performance boost since as the sprites come very close to the camera and they get larger and larger, they very quickly get zoomed 200 %, 300 %, 600 % and so on. Further away they are just a dozen of pixels for a very long distance.
Since the area of sprites is the main contributing factor, this makes rendering the road quite efficient because every horizontal line is just one pixel high even though there are four sprites per horizontal line and 64 lines total.